
In Fire Emblem Awakening the “magician” class is called Mage. Mages hit hard with magic but have very little Defense, so they are often the easiest unit for enemies to kill. To keep one alive, do three things every turn. Press X to show the danger area and end the Mage’s turn outside the red. Attack from two spaces away, behind a front-line unit. When the Mage has to stand somewhere risky, Pair Up with a high-Defense unit like Frederick or a Knight.
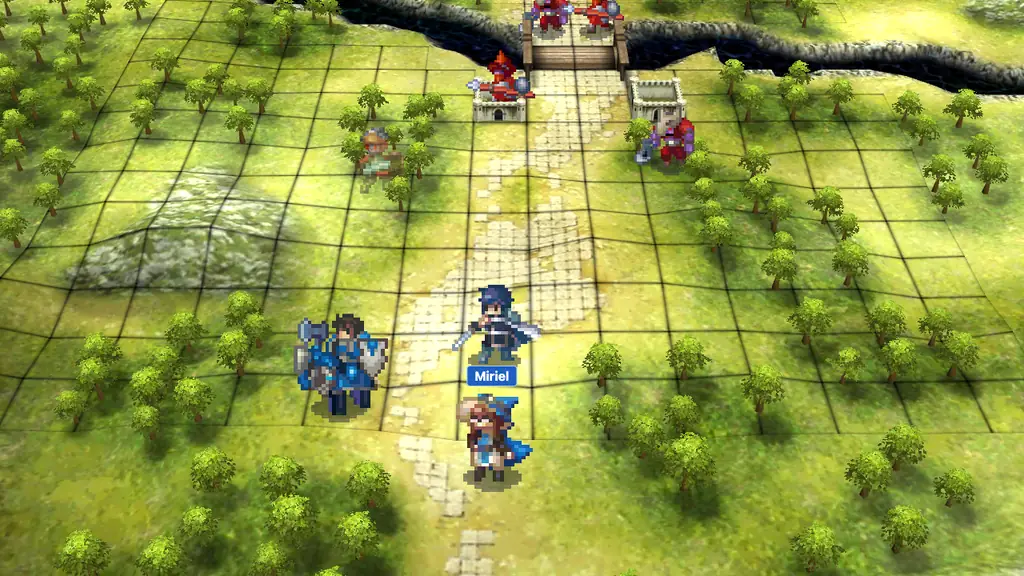
Why your Mage keeps dying
The game describes the class as “a tome wielder whose magic works well on armored foes.” It is very good at offense and very weak at defense. A Mage’s class base Defense is 2. Only the Villager and the healing classes start lower. Miriel, your first Mage, joins in Chapter 2 at level 1 with these stats:
| Unit | Class | HP | Mag | Spd | Def | Res |
|---|---|---|---|---|---|---|
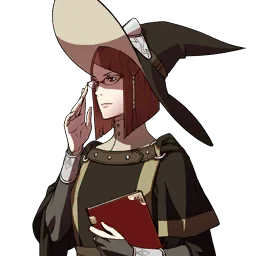 Miriel | Mage | 18 | 6 (8 with Magic +2) | 7 | 3 | 4 |
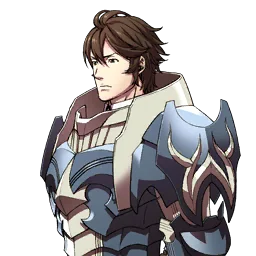 Frederick | Great Knight | 28 | 2 | 10 | 14 | 3 |
Frederick has 11 more Defense than Miriel, so a Risen axe that barely scratches him can take half of her HP. Low-Defense units like Mages and healers, and anyone left alone at the edge of the group, are the ones enemies most often reach and kill.
A Mage that dies is not a bad unit. Usually the problem is that it ended its turn where several enemies could reach it.
Habit 1: end the turn outside the danger area
This one button press prevents most Mage deaths. The game’s tutorial (number 27, Danger Area) says to “select an enemy and press the A Button to view that enemy’s range of action,” and that “you can also press the X Button to toggle the danger area of all foes at once.” Press X every turn before you move your Mage. You can turn the danger area display on or off in the options under Danger Area.
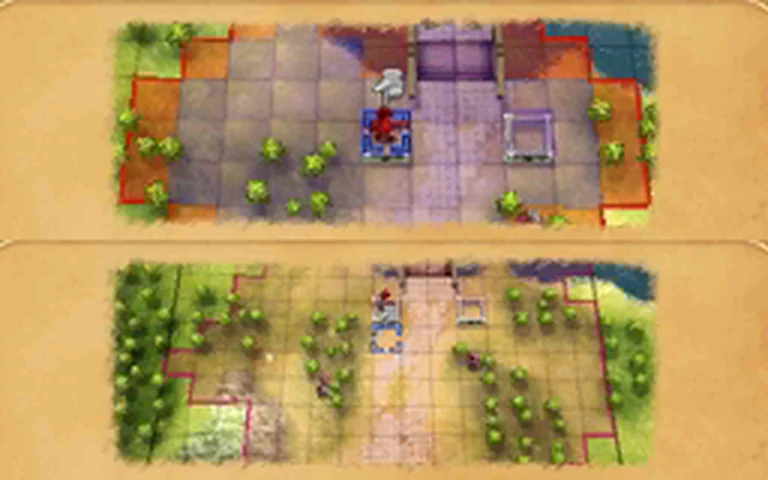
Red tiles are every space at least one enemy can move to and attack on its next turn. Here is the danger area on the Chapter 2 map, from where the Risen start.
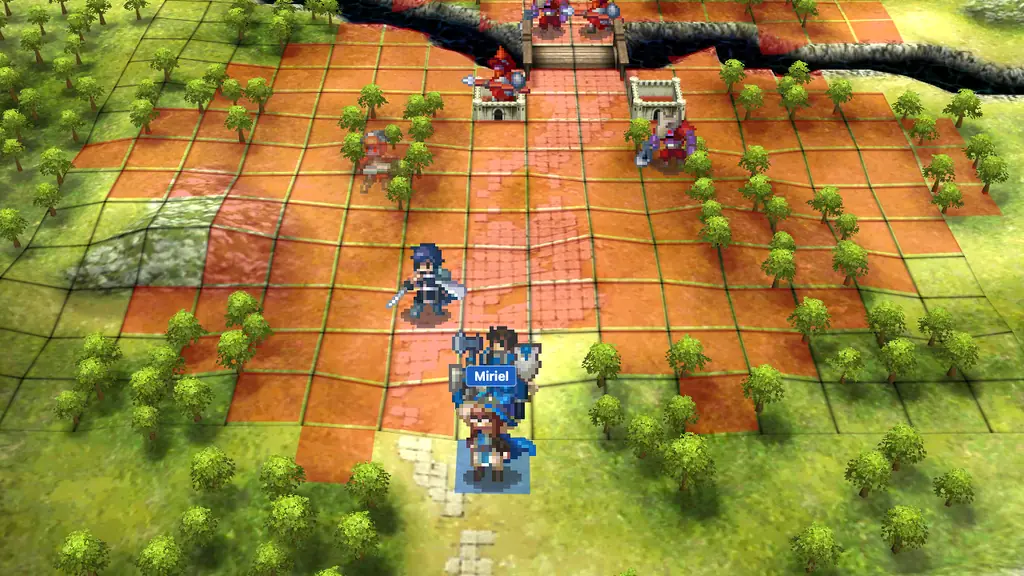
Two things on this map are worth knowing:
- The river is a wall. Barbarians, Soldiers and Mercenaries cannot cross water. The only way over is the bridge in the middle, so tiles north of the river are only dangerous from the enemies already on that side.
- Woods and mountains slow enemies down. A Barbarian or Soldier has Movement 5. It pays 2 for each Woods tile and 3 for each Mountain tile. A Mercenary pays 4 for a mountain. So a tile that looks close can be out of reach.
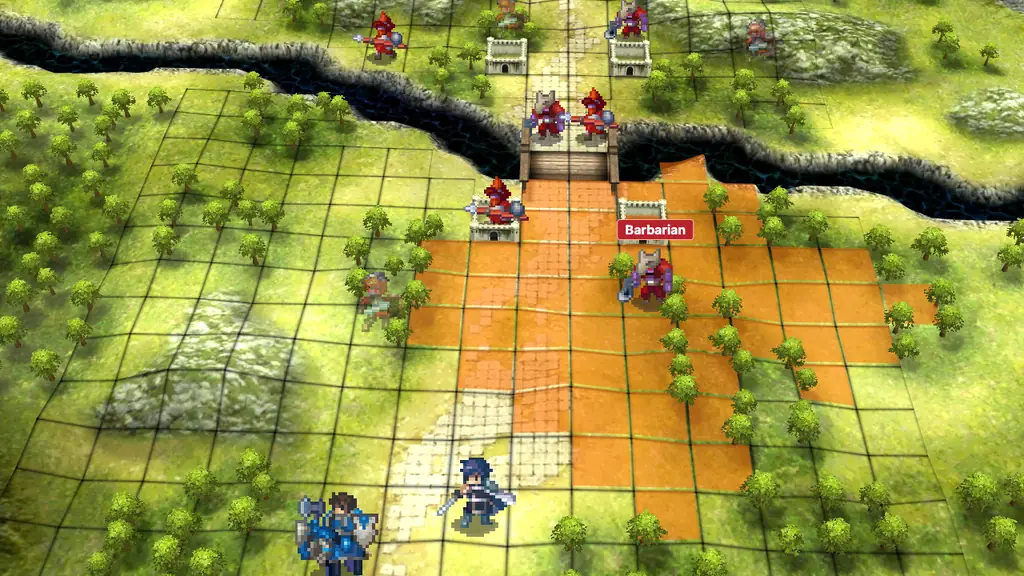
Enemies that are waiting for you to come into range can often be drawn out one or two at a time. Keep the Mage behind the unit that draws them.
One more rule: never count on an enemy missing. Awakening shows you a hit chance, but if the forecast says an enemy can kill your Mage in one hit, treat it as a sure thing.
Attack from two spaces, but don't trust two spaces
As the tutorial puts it, “tomes allow you to attack enemies with magic from two spaces away,” and you “can use magic against adjacent enemies as well.” Every basic tome has range 1–2. The usual move is to attack over a front-line unit, from the tile behind it:
| Tome | Rank | Mt | Hit | Crit | Range | Uses | Price | Note |
|---|---|---|---|---|---|---|---|---|
 Fire | E | 2 | 90 | 0 | 1–2 | 45 | 540 | “Standard fire magic.” |
 Thunder | E | 3 | 80 | 5 | 1–2 | 45 | 630 | Hits harder than Fire, but less often |
 Wind | E | 1 | 100 | 0 | 1–2 | 45 | 450 | Effective against fliers |
 Elfire | D | 5 | 85 | 0 | 1–2 | 35 | 980 | Elthunder is Mt 6, Hit 75. Elwind is Mt 4, Hit 95. |
Two spaces is not safe by itself. Many enemies hit back at that distance:
- Javelins and Short Spears (range 1–2)
- Hand Axes and Tomahawks (range 1–2)
- Bows (range 2)
- Enemy Mages and Dark Mages (range 1–2)
Check the enemy’s weapon in the combat forecast before you attack. If it can counter at 2, decide whether your Mage can take that one hit. If you’re not sure, let a sturdier unit attack instead.
Magic also sits outside the weapon triangle. The triangle is only Sword > Axe > Lance > Sword, so a tome never gets an advantage or disadvantage from it. What tomes are good at is ignoring Defense: magic damage is checked against Resistance. Knights and Generals have very low Resistance, and that is where a Mage does its best work.
Habit 2: Pair Up with a tank
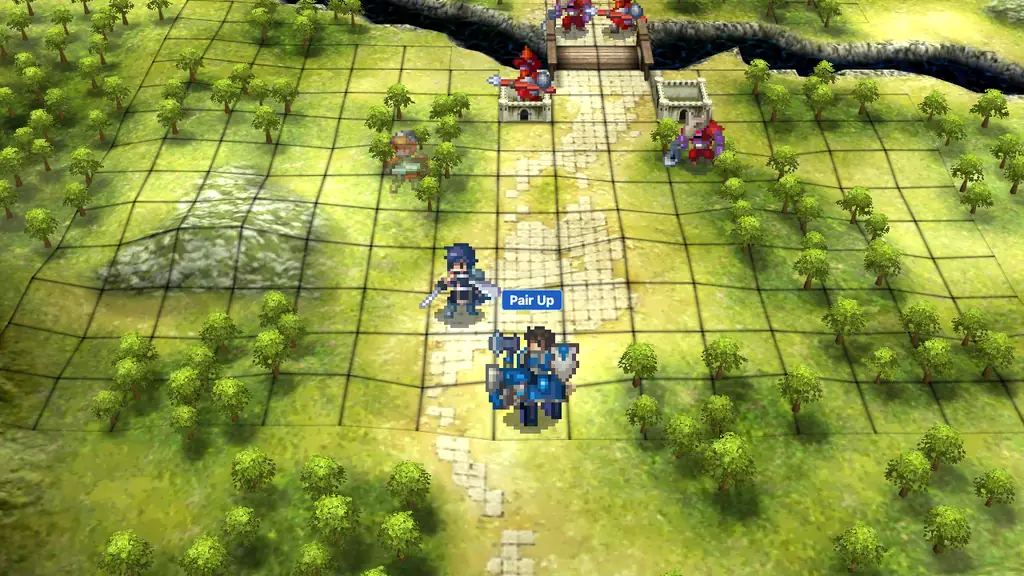
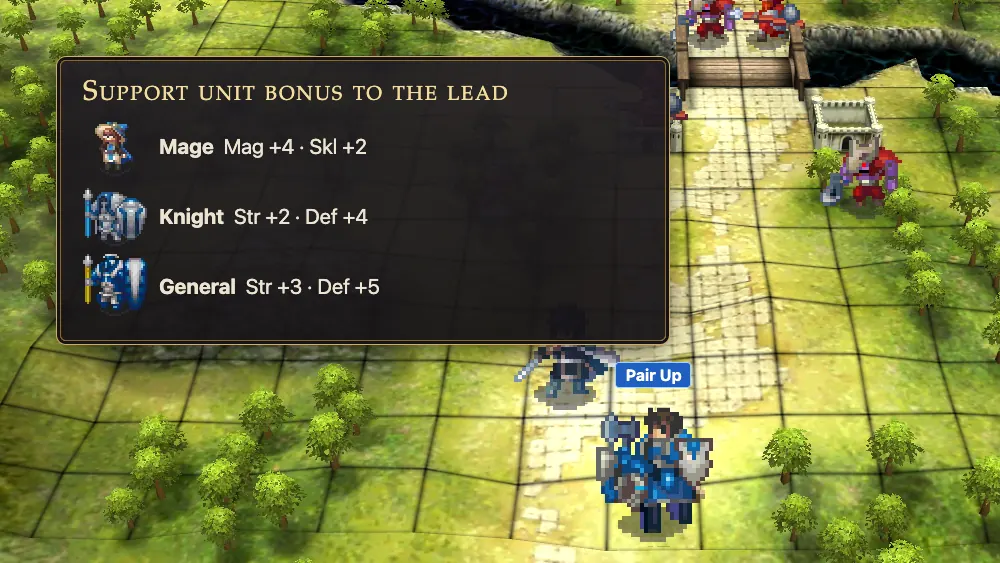
The tutorial explains Pair Up this way: move next to an ally “and select ‘Pair Up’ to move into that unit’s protection.” The two units act as one. Enemies attack the lead unit, the support unit stays behind it, and the lead gets a stat bonus from the support unit’s class. “Switch” swaps the two roles.
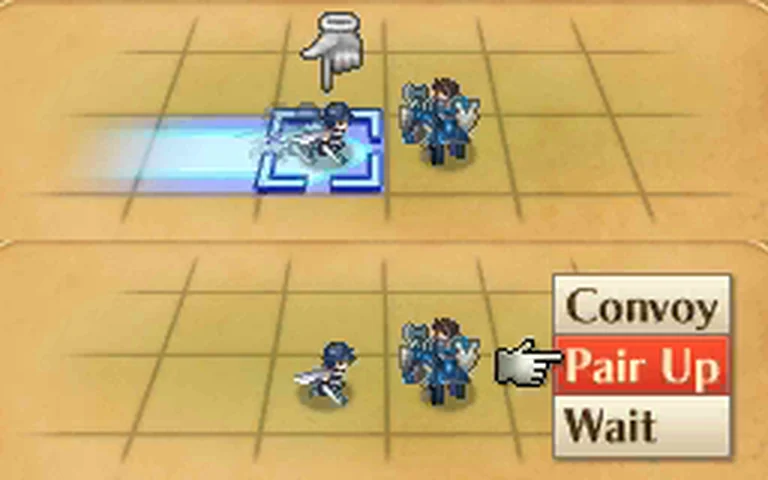
There are two ways to use it with a Mage:
- Mage in the back. Frederick (or a Knight) leads, and the Mage rides behind him. Only Frederick can be attacked, and he gets the Mage’s bonus. Use this when the Mage would otherwise have to end its turn in the red.
- Mage in front with a tank behind. The Mage leads and attacks, and gets the tank’s Defense bonus. This is riskier, because the Mage still takes the hits. Use it only when the forecast says the Mage survives the counterattack and the enemy phase.
| Support unit's class | Bonus to the lead | Use it when |
|---|---|---|
| Mage | Mag +4, Skl +2 | The Mage rides behind a unit that attacks with magic or needs Skill |
| Sage | Mag +4, Skl +2, Res +2 | Same, plus a little magic defense |
| Knight | Str +2, Def +4 | Your Mage leads and needs Defense |
| General | Str +3, Def +5 | The biggest Defense bonus from a class |
| Dark Mage | Mag +3, Def +3 | Gives both Magic and Defense |
| Dark Knight | Mag +2, Def +3, Res +1, Mov +1 | A balanced bonus |
Support rank also helps. The tutorial says that as units grow closer, “they will fight better when next to each other or paired up.” Fighting next to each other or in a pair raises support rank. At C and B rank each stat the class bonus raises goes up 1 more; at A and S it goes up 2 more.
Dual Guard is a bonus, not a plan
When a pair is attacked, the support unit sometimes steps in and blocks the whole attack. That is a Dual Guard. It is a random chance, not something you can count on. The rate is the pair’s combined Defense, or Resistance against magic, divided by 4, plus a bonus for support rank. The Dual Guard+ skill adds 10% (the game’s text: “Increases the trigger rate of Dual Guards by 10%”). Even with a strong pair that chance is far from certain. Plan every turn as if the guard never happens. If the Mage only survives when Dual Guard triggers, move it.
Don’t chase Focus
Mages learn two skills: Magic +2 at level 1 (“Grants Mag +2”) and Focus at level 10. Focus “grants Crit +10 when there are no allies within three spaces.”
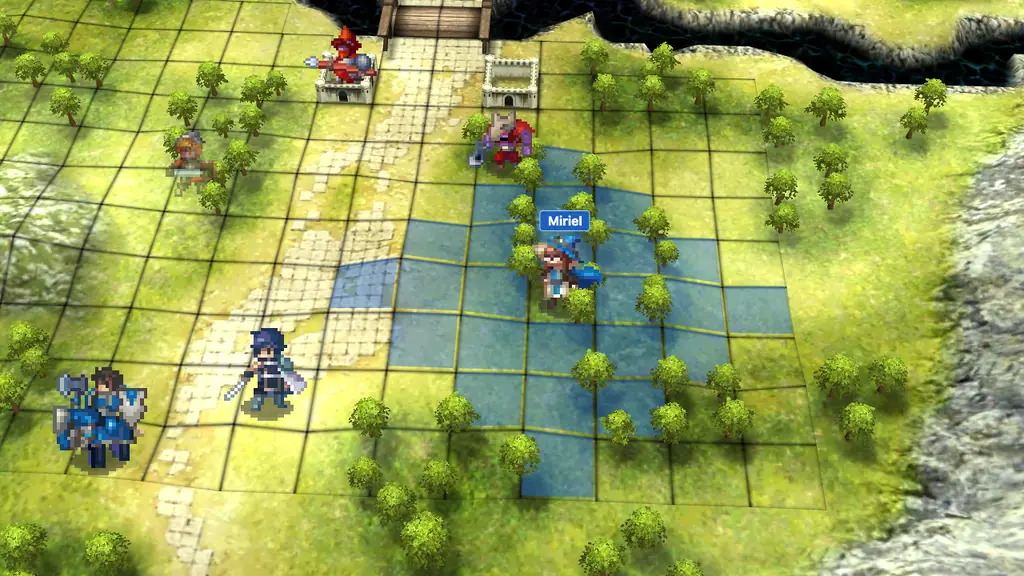
To turn Focus on, no ally can stand within three spaces of your Mage. That means no tank or healer close enough to cover it. A 10% crit bonus is not worth that. Leave Focus equipped if you like, but never move a Mage just to turn it on.
Terrain, tonics and Rescue
The tutorial says that woods and mountains “boost a unit’s defense and ability to evade,” and that “forts and thrones will even heal units at the start of each turn.” Here are the bonuses:
| Terrain | Def | Avo | Healing |
|---|---|---|---|
| Plain, Bridge | 0 | 0 | None |
| Woods | +1 | +10 | None |
| Mountain | +2 | +20 | None |
| Fort | +2 | +20 | 20% of max HP each turn |
| Gate | +3 | +20 | 20% of max HP each turn |
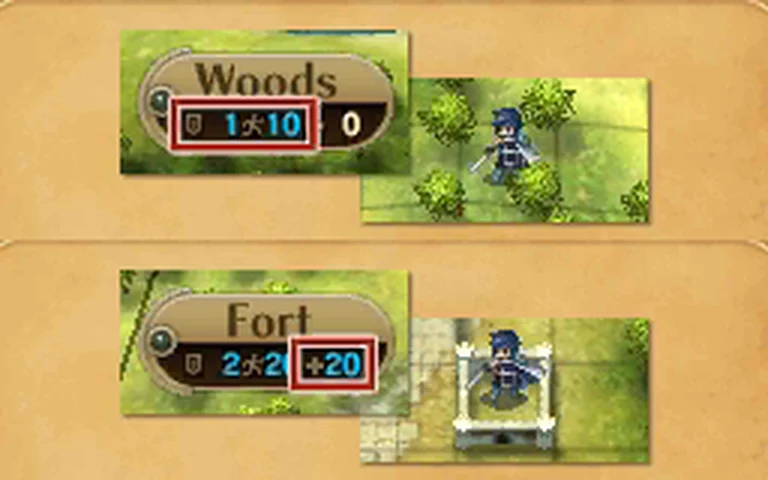
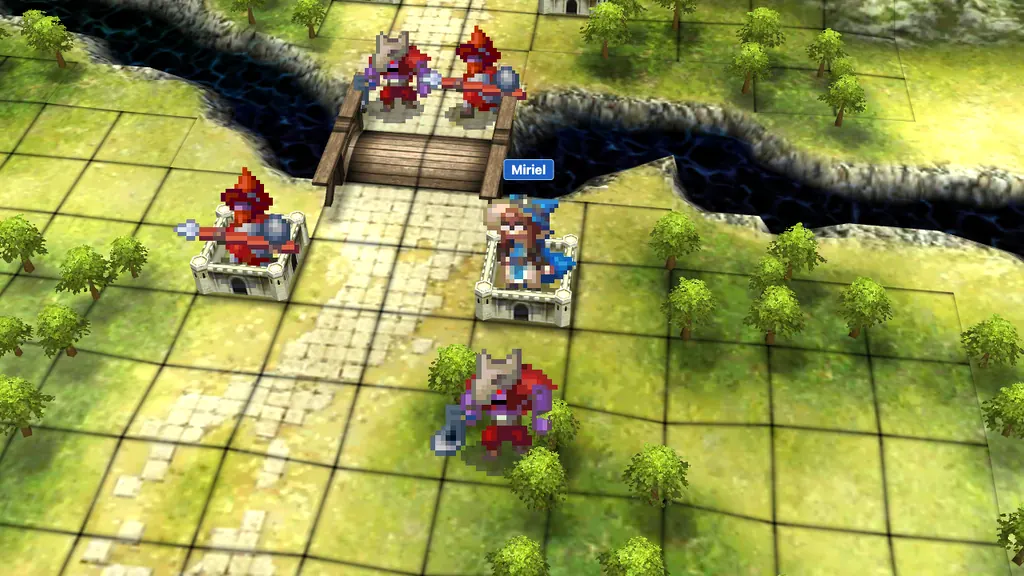
Terrain is a small bonus, not protection. One Defense from woods won’t save a Mage that is inside three enemies’ range.
A few items are worth carrying on hard maps:
- Defense Tonic: “Grants Def +2 for one battle.” 150 gold.
- Resistance Tonic: Res +2 for one battle, also 150 gold. Use it against enemy Mages.
- Rescue: “Moves a distant ally to an adjacent space.” E rank, range 1 to Mag ÷ 2, 5 uses, 1,280 gold. If your Mage ends up somewhere bad after a missed kill, a healer with Rescue can pull it back on the same turn. Treasure on early maps gives a few (one is in a Chapter 8 village). Shops start selling them from Port Ferox onward.
Sage, Dark Knight or Dark Mage?
A Master Seal “promotes a base class at LV 10 to an advanced class.” A Second Seal changes a level 10 base class, or an advanced class at any level, to another class from the unit’s class list. Each seal costs 2,500 gold. A Mage can promote to Sage or Dark Knight.
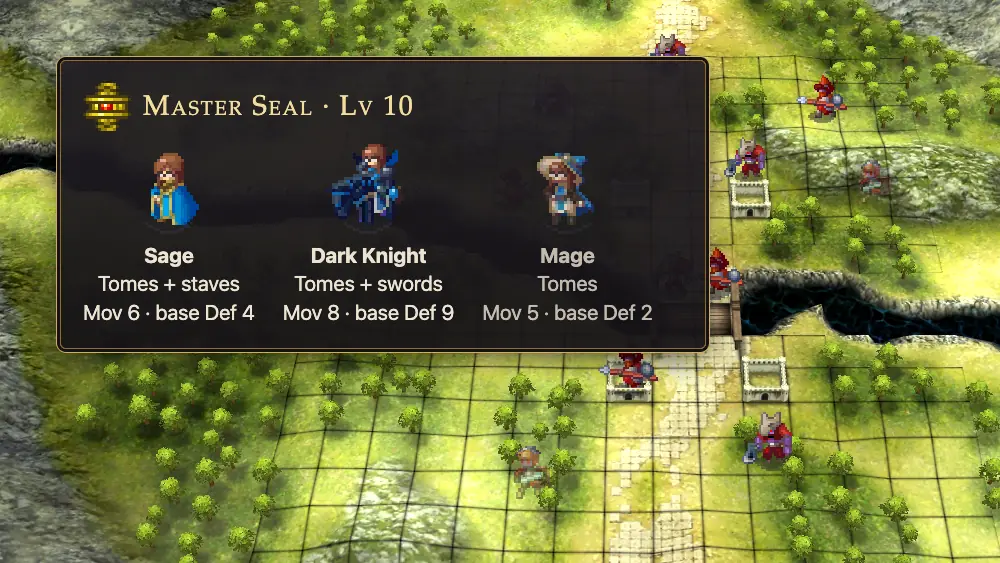
| Class | How | Weapons | Mov | Base Def / Res | Class max Def | Skills |
|---|---|---|---|---|---|---|
| Mage | Start | Tome | 5 | 2 / 3 | 21 | Magic +2, Focus |
| Sage | Master Seal | Tome, Staff | 6 | 4 / 5 | 31 |  Rally Magic,  Tomefaire |
| Dark Knight | Master Seal | Sword, Tome | 8 | 9 / 5 | 42 | Slow Burn,  Lifetaker |
| Dark Mage | Second Seal (Miriel, Laurent, Robin) | Tome (dark tomes too) | 5 | 4 / 4 | 25 |  Hex,  Anathema |
- Sage is the easy choice if you want the same playstyle with staves added. A Sage can carry Rescue and Heal, which helps keep everyone else alive too. Rally Magic (“grant Mag +4 to units within three spaces for one turn”) is a support command, not a reason to stand at the front.
- Dark Knight fixes most of the survival problem. Movement 8 makes it easier to reach a safe tile to attack from, a class base Defense of 9, and a much higher Defense cap. Lifetaker “restores 50% HP if the enemy is defeated” when the Dark Knight attacks. It is a mounted class, though. It pays 3 movement for each woods tile, and weapons that are effective against mounted units deal extra damage to it.
- Dark Mage keeps Movement 5 but has more Defense. The game describes it as “a mage able to use dark tomes. High in Def and tough to kill.” Normally only Dark Mages and Sorcerers can use dark tomes. The exception is a unit with the Shadowgift skill, which can use them in any class that uses tomes. That includes Nosferatu (D rank, Mt 7, Hit 65, 20 uses, 980 gold), which “absorbs HP equal to half the damage dealt.” Without Shadowgift, a Mage, Sage or Dark Knight can’t use it.
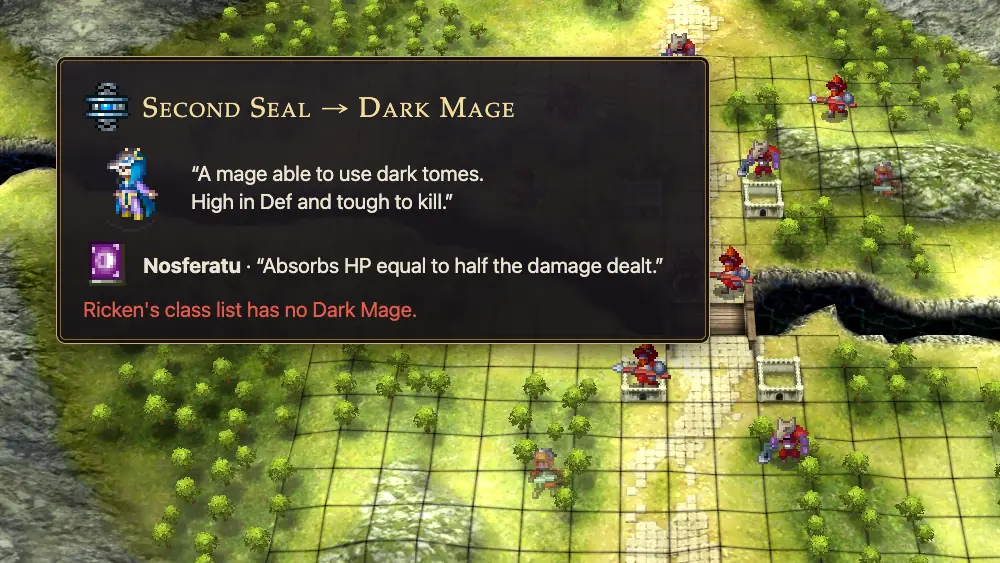
Miriel, Ricken, Laurent and Robin
| Unit | Joins | Starts as | Other classes they can reclass to |
|---|---|---|---|
| Miriel | Chapter 2 | Mage, level 1 | Troubadour, Dark Mage |
 Ricken | Chapter 5 | Mage, level 3 | Cavalier, Archer |
| Laurent | Paralogue 14 | Mage (Miriel’s son) | Depends on his father; see the marriage planner |
| Robin | Prologue | Tactician (swords and tomes) | Many classes |
- Miriel is the one who needs all of this most. She joins at level 1 with 3 Defense, on a map full of Risen. Her class list includes Dark Mage. Her son Laurent inherits it, and Robin can also reclass to Dark Mage.
- Ricken starts sturdier: level 3, 20 HP, 8 Magic (10 with Magic +2) and 6 Defense. He cannot become a Dark Mage, because Dark Mage is not in his class list. His bulkier options are Dark Knight from a Master Seal, or Cavalier from a Second Seal.
- Robin isn’t a Mage, but uses tomes as a Tactician. Robin’s level 1 skill, Veteran, “grants the unit 50% more EXP while paired with another unit.” This bonus only applies to experience Robin actually earns. A paired Robin still has to fight as the lead, or land Dual Strikes from the back, to level up.
Our character guide has full join details for every unit. The classes and skills list has every promotion, and the weapons and items list has every tome.
Classic, Casual and Lunatic
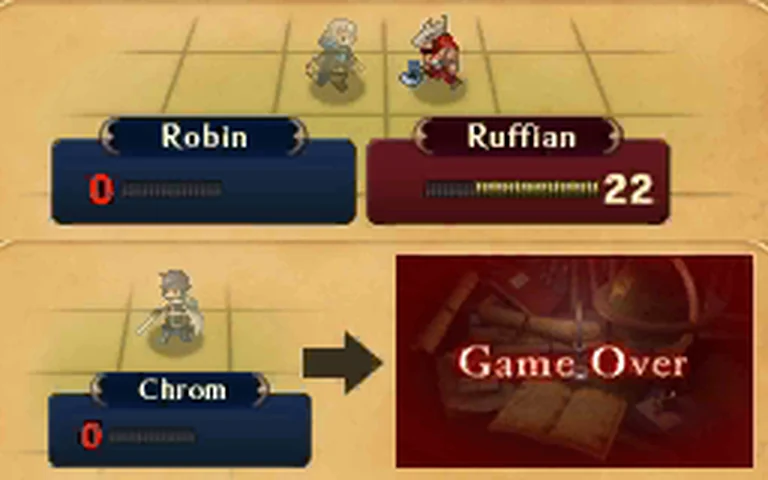
The tutorial is clear: “Fallen units are lost forever in Classic Mode and for the duration of battle in Casual.” So Casual does not mean deaths are free. A Mage who falls in Casual is gone for the rest of that map, along with all the damage they would have done.
- Normal: enemies hit softly enough that the two habits above are usually enough. A Mage can often take one hit.
- Hard: more enemies, and they hit harder. Keep the Mage out of the red unless it is paired.
- Lunatic and Lunatic+: early Risen can kill a level 1 Miriel in one round even with a Defense bonus. Plenty of Lunatic players bench her at first or reclass her later. That is a reasonable choice, not a failure. If you use her, give her safe kills as the lead where the forecast says she survives, then Switch her back behind Frederick before the enemy phase. Experience goes to the lead, so she won’t level up from the back on her own.
Old advice that no longer applies
Many Awakening guides date from 2013. Some of their advice doesn’t work for someone buying the game now:
- DLC skills and classes. Nintendo ended new sales of 3DS downloadable content on March 27, 2023 in the Americas (March 28 in Japan). Content you already bought can still be redownloaded. If a guide fixes Mage survival with a DLC skill and you don’t own it, you can’t get it now.
- SpotPass and online extras. Online services for 3DS games ended on April 8, 2024 in the Americas (April 9 in Japan). Don’t plan around new Bonus Box teams or SpotPass items.
- Platform. Awakening is still a 3DS-only game. These numbers apply to the 3DS, 2DS, New 3DS and New 2DS alike.
Every turn, in order
- Press X and look at the red tiles before you move the Mage.
- Find an attack from two spaces away that ends outside the red, or behind a unit that blocks the path.
- Check the forecast. If the enemy can counter at 2 or kill in one hit, don’t attack with the Mage.
- If the Mage has to stay in the red, Pair Up behind Frederick, a Knight or a General.
- Keep allies nearby, even if that means Focus never activates.
- Keep a healer with Rescue nearby for the turn something goes wrong.