
Resident Evil Revelations on 3DS has 78 custom parts in all. 43 of them are in the campaign and 72 in Raid Mode, and 37 turn up in both. In the campaign, most parts fit every gun, but some only go on one weapon type: Burst 3 is handgun only, Narrow is shotgun only, and Fire Rate 5 only fits machine guns. The full table of 43 campaign parts is below, followed by the mission rewards and the parts that only exist in Raid Mode.
How many weapon parts are there?
| Group | Parts |
|---|---|
| All named parts on 3DS | 78 |
| Campaign | 43 |
| Raid Mode | 72 |
| In both modes | 37 |
| Campaign only | 6: Damage 7, Fire Rate 5, Burst 1, Burst 4, Burst 5, Burst 6 |
| Raid Mode only | 35 |
A part with the same name can do more in one mode than the other. Damage 1 is +10% in the campaign and +4% in Raid Mode. The numbers below are campaign values. Every part with both values is on the custom parts page.
How weapon parts work
- Parts come in two kinds of case. Custom Parts is the regular one, and Illegal Custom Parts is a "Rare case containing strong parts for firearm customization." Illegal cases turn up on Hell.
- You fit parts at a Weapon Box. Each gun has a set number of slots.
- You can't fit two parts of the same kind on one gun. Damage 2 and Damage 5 can't go on the same weapon, for example.
- A part has to match the weapon type. Shotgun parts won't go on a rifle.
- Campaign parts stay in the campaign. Raid Mode has its own weapons and parts.
All 43 campaign weapon parts and what they fit
HG is handgun, SG shotgun, MG machine gun, RF rifle and MAG magnum.
| Part | Campaign effect | HG | SG | MG | RF | MAG |
|---|---|---|---|---|---|---|
| Damage 1 | Damage +10% | Yes | Yes | Yes | Yes | Yes |
| Damage 2 | Damage +20% | Yes | Yes | Yes | Yes | Yes |
| Damage 3 | Damage +40% | Yes | Yes | Yes | Yes | Yes |
| Damage 4 | Damage +60% | Yes | Yes | Yes | Yes | Yes |
| Damage 5 | Damage +80% | Yes | Yes | Yes | Yes | Yes |
| Damage 6 | Damage +100% | Yes | Yes | Yes | Yes | Yes |
| Damage 7 | Damage +150% | Yes | Yes | Yes | Yes | Yes |
| Fire Rate 1 | Firing rate +15% | Yes | Yes | - | Yes | Yes |
| Fire Rate 2 | Firing rate +30% | Yes | Yes | - | Yes | Yes |
| Fire Rate 3 | Firing rate +60% | Yes | - | - | Yes | - |
| Fire Rate 4 | Firing rate +60% | - | Yes | - | - | Yes |
| Fire Rate 5 | Firing rate +150% | - | - | Yes | - | - |
| Long Magazine 1 | Capacity +20% | Yes | Yes | Yes | Yes | Yes |
| Long Magazine 2 | Capacity +40% | Yes | Yes | Yes | Yes | Yes |
| Long Magazine 3 | Capacity +80% | Yes | Yes | Yes | Yes | Yes |
| Long Magazine 4 | Capacity +100% | Yes | Yes | Yes | Yes | Yes |
| Long Magazine 5 | Capacity +150% | Yes | Yes | Yes | Yes | Yes |
| Long Magazine 6 | Capacity +200% | - | - | Yes | - | - |
| Bind 1 | Stopping power +100% | Yes | Yes | Yes | Yes | Yes |
| Bind 2 | Stopping power +500% | Yes | Yes | Yes | Yes | Yes |
| Daze 1 | Daze +100% | Yes | Yes | Yes | Yes | Yes |
| Daze 2 | Daze +200% | Yes | Yes | Yes | Yes | Yes |
| Daze 3 | Daze +300% | Yes | - | - | - | - |
| Critical 1 | Critical hit rate +30% | Yes | Yes | Yes | Yes | Yes |
| Critical 2 | Critical hit rate +100% | - | Yes | - | - | - |
| Burst 1 | 2 shots per trigger pull | Yes | - | - | - | - |
| Burst 2 | 2 shots per trigger pull | - | Yes | - | - | - |
| Burst 3 | 5 shots per trigger pull | Yes | - | - | - | - |
| Burst 4 | 3 shots per trigger pull | - | - | Yes | - | - |
| Burst 5 | 3 shots per trigger pull | - | - | - | Yes | - |
| Burst 6 | 3 shots per trigger pull | - | - | - | - | Yes |
| Infighter 1 | Up to +20% firepower within 4 m | Yes | Yes | Yes | Yes | Yes |
| Infighter 2 | Up to +50% firepower within 4 m | Yes | Yes | Yes | Yes | Yes |
| Infighter 3 | Up to +100% firepower within 4 m | - | - | - | Yes | - |
| Edge Runner 1 | Up to +50% firepower as your health drops | Yes | Yes | Yes | Yes | Yes |
| Edge Runner 2 | Up to +100% firepower as your health drops | Yes | Yes | Yes | Yes | Yes |
| Narrow 1 | Shotgun spread -4° | - | Yes | - | - | - |
| Narrow 2 | Shotgun spread -12° | - | Yes | - | - | - |
| Charge Shot 1 | Charge shot, short charge | Yes | - | - | - | - |
| Charge Shot 2 | Charge shot, long charge, more firepower | - | Yes | - | - | - |
| Charge Shot 3 | Charge shot, short charge | Yes | Yes | Yes | Yes | Yes |
| Charge Shot 4 | Charge shot, long charge, more firepower | - | - | - | - | Yes |
| Auto Loader | No reloading | Yes | Yes | Yes | Yes | Yes |
Burst 3 fires five shots and Burst 5 fires three, even though the in-game label on Burst 5 reads "5-Shot Burst." The Burst note on the custom parts page has more.
Weapon parts for each gun type
Twenty-three campaign parts fit every gun: all seven Damage parts, Long Magazine 1 to 5, Bind 1 and 2, Daze 1 and 2, Critical 1, Infighter 1 and 2, Edge Runner 1 and 2, Charge Shot 3 and Auto Loader. The differences between gun types come from the other 20.
Handguns: 30 parts
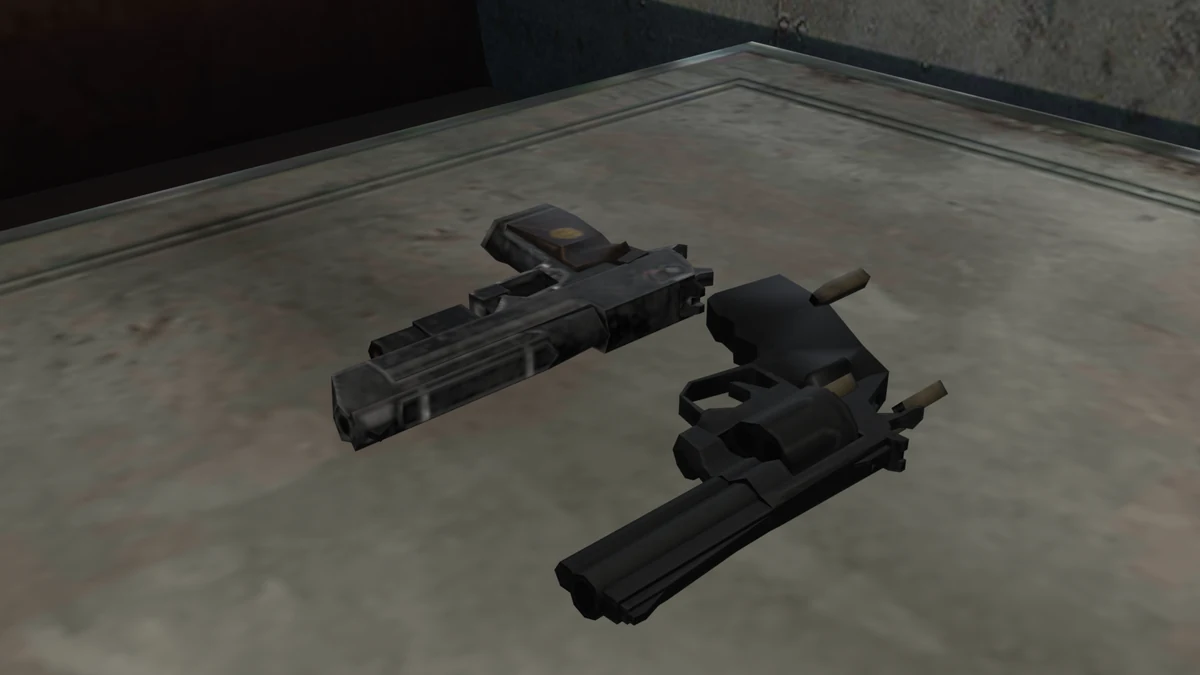
Handguns get four parts no other gun can use: Burst 1, Burst 3, Daze 3 and Charge Shot 1. They also take Fire Rate 1, 2 and 3. The M92F, Government, G18 and PC356 all use this list. For handgun comparisons and part picks, see the best handgun page.
Shotguns: 31 parts
Shotguns can take the most parts. Narrow 1 and 2 tighten the spread, by 4° and 12°. Burst 2, Critical 2 and Charge Shot 2 are shotgun only too. Shotguns take Fire Rate 1, 2 and 4, and Fire Rate 4 is shared with magnums. This covers the Windham, M3 and Hydra.
Machine guns: 26 parts
Machine guns have the shortest list. Fire Rate 1 to 4 won't go on them, but Fire Rate 5 (+150%), Long Magazine 6 (+200%) and Burst 4 are machine gun only. That applies to the MP5, P-90, AUG and G36.
Rifles: 28 parts
Burst 5 and Infighter 3 only fit rifles. Rifles also take Fire Rate 1, 2 and 3. Infighter adds firepower when you are within 4 meters of the target, which is close range for a scoped gun. This list is for the M40A1 and PSG1.
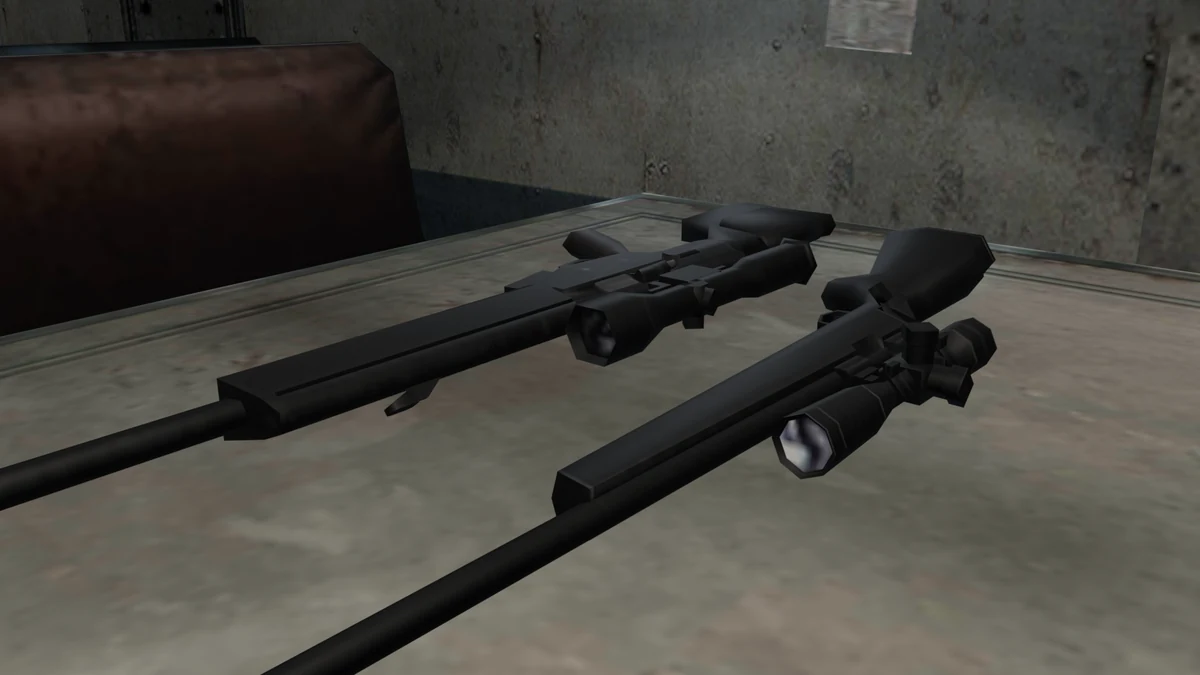
Magnums: 28 parts
Magnums get Burst 6 and Charge Shot 4 to themselves, and share Fire Rate 4 with shotguns. Charge Shot 4 has the longer charge with more firepower. This covers the Python and L. Hawk.
Weapon parts from missions
Five campaign parts are mission rewards. Claim them in the Missions menu once you finish the task.
| Part | Mission | What you do |
|---|---|---|
| Charge Shot 3 | CASUAL Cleared | Clear CASUAL difficulty or higher |
| Auto Loader | Aloof Challenger | Clear CASUAL difficulty or higher without using herbs or the Infinite Rocket Launcher |
| Bind 1 | Dodge Master | Dodge 20 times |
| Long Magazine 2 | Angry Fist | Land 10 fully charged physical attacks |
| Edge Runner 2 | Researcher | Scan all enemies |
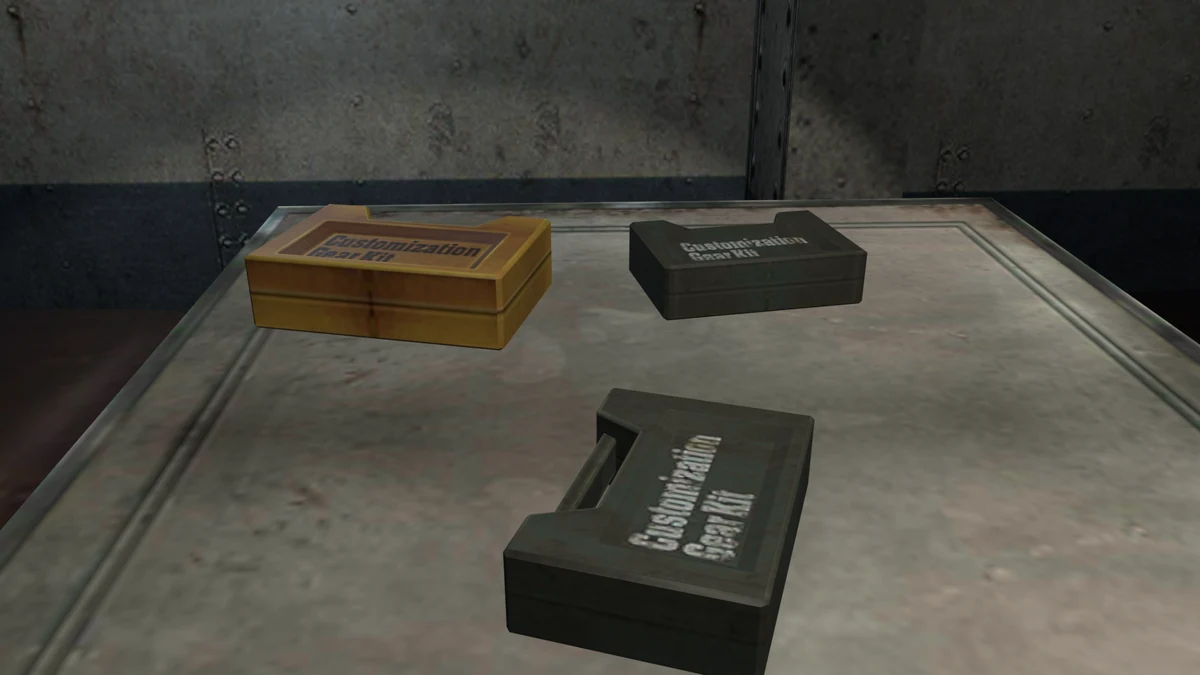
Charge Shot 3 and Auto Loader both fit every gun, so those two are worth going for first. Edge Runner 1 comes fitted to the Government handgun in Episode 10-2. The rest of the mission list is on the missions page.
Hell and Illegal Custom Parts
Illegal Custom Parts are the rare cases with strong parts, and Hell is the difficulty where they turn up. If you are still missing high-level parts after a Casual or Normal run, a run on Hell is the next step. How to unlock it is on the difficulty page.
Raid Mode only parts
These 35 parts are only in Raid Mode:
- Long Magazine 7 to 10, Bind 3 to 5, Daze 4 and 5, Critical 3 to 5, Edge Runner 3
- Enrage 1 and 2, Cloak 1 and 2, Piercing 1 and 2
- Full Burst, Easy Hit 1 to 3, Grenade Launcher, Cornucopia 1 to 5
- Outrange 1 to 3, Gluttony, Wide 1 and 2
Raid Mode weapons and parts don't move to the campaign, and campaign parts don't move to Raid Mode. The shop is on the Raid Mode page.
3DS and HD weapon parts
Lists written for Revelations HD include Legendary Custom Parts from Infernal difficulty and parts such as Medical Kit. Infernal, Legendary Custom Parts and Medical Kit are not in the 3DS game, which has Hell difficulty and Illegal Custom Parts cases instead. Part locations in HD lists don't match the 3DS game either. The rest of the changes are on the 3DS vs HD page.